
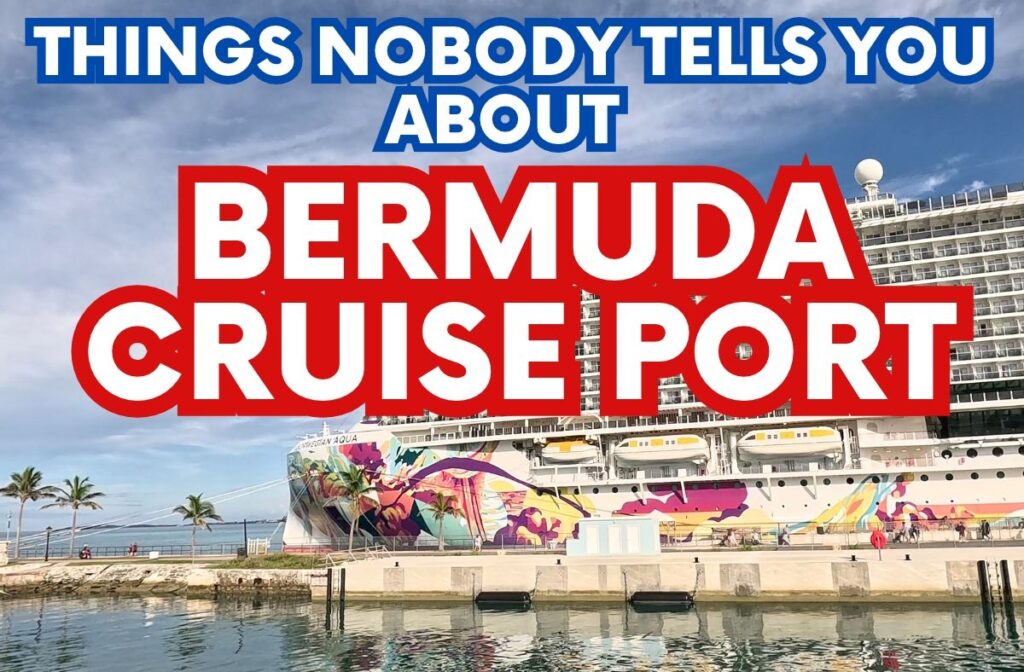
Cruising to Bermuda and wondering whether you need an expensive shore excursion? On my recent Bermuda cruise on Norwegian Aqua, I didn’t book one.
It was my third visit to Bermuda, and I knew getting around was straightforward.
I was cruising with my parents. We took a taxi to the beach, another taxi to Hamilton, and then a ferry back to Royal Naval Dockyard, where our ship was docked.
There were still a few things I would do differently next time, especially when it came to choosing transportation and getting settled at the beach.
Here are ten things to know before getting off your cruise ship in Bermuda.
1. You Can Easily Explore on Your Own
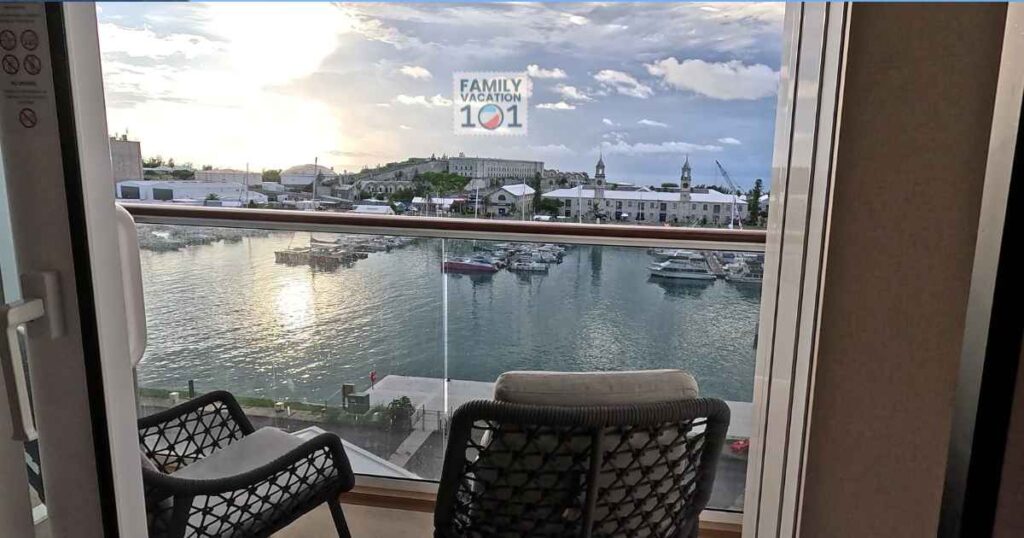
If your cruise ship docks at Royal Naval Dockyard, you have several options for exploring independently.
You don’t need to automatically book an expensive cruise excursion.
Paying for a shore excursion for each family member can add up.
We were able to visit both Horseshoe Bay and Hamilton using local transportation, while choosing how much time to spend at each stop.
If you prefer to do organized water sports, like jet ski or catamaran tours, there are booths offering water sports and local tours near the cruise ship.
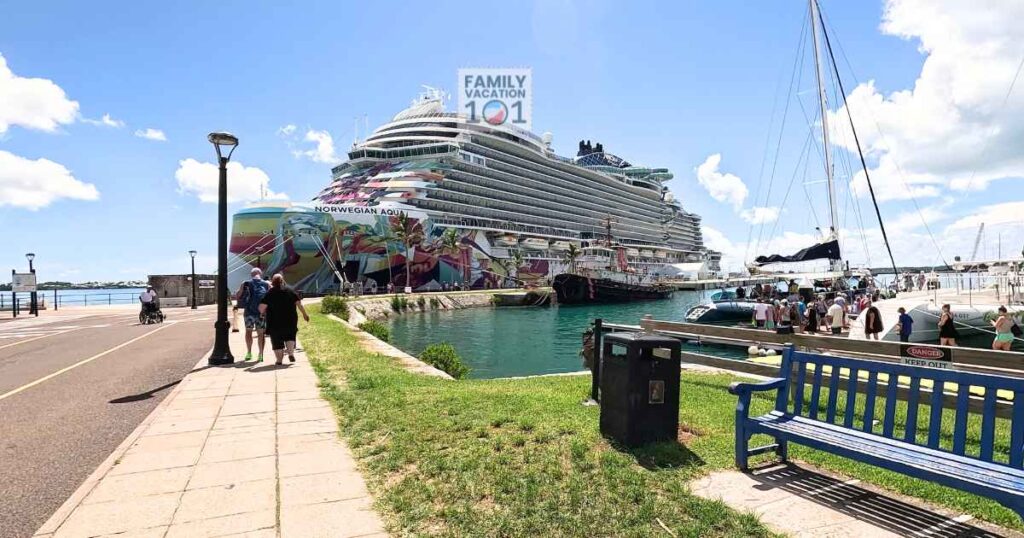
But before you explore independently, make sure you get back to the ship before the all aboard time.
Check your all aboard time before leaving and pay attention to any clock changes. On all my Bermuda cruises, we have had to adjust our clocks.
Read the cruise daily planner for time change announcements and confirm the ship’s time before heading out. Don’t rely only on your phone, make sure it matches the ship time.
2. Beach Shuttles Are Near the Cruise Ships
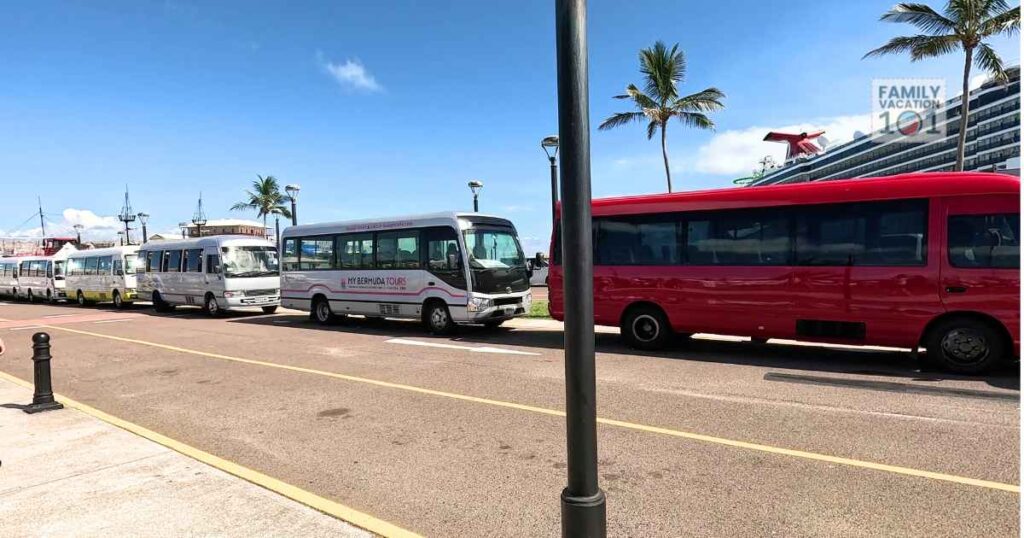
At Royal Naval Dockyard, we found Horseshoe Bay Beach shuttles near the cruise ships. You don’t have to walk far at all.
The Horseshoe Bay beach shuttle fare was $7 per person each way.
Return shuttles were also available from Horseshoe Bay for $7 per person.
Bring cash in smaller bills and ask where to catch the return shuttle and when the last one leaves.
One thing annoying about taking the Horseshoe Bay beach shuttle is that it doesn’t leave right away.
When we were there, the drivers were collecting passengers and trying to fill nearly every seat before departing. You might end up waiting in a small, stuffy shuttle as they get more passengers.
Because of that, we ended up not taking the beach shuttle.
3. A Taxi Might Be Worth the Extra Money

The taxi stand was right across from the beach shuttles, so instead of waiting in the shuttle for more passengers to come.
We decided to take a taxi instead.
Our ride from Royal Naval Dockyard to Horseshoe Bay cost $39 total for three people, or $13 per person.
The shuttle would have cost $21 for our group one way. That meant we paid $18 more for the taxi, or an extra $6 each.
For us, skipping the wait and having a more comfortable ride was worth the difference.
I like that Bermuda taxis are metered rides, with government regulated rates.
You can ask for estimated fare before getting in and confirm that you can pay in US dollars. But know that you will end up paying what’s on the taxi meter.
If you’re traveling with family or friends, compare the taxi fare with the shuttle cost for your whole group.
The extra convenience of taking a taxi might be worth it.
4. Horseshoe Bay Has Beach Facilities
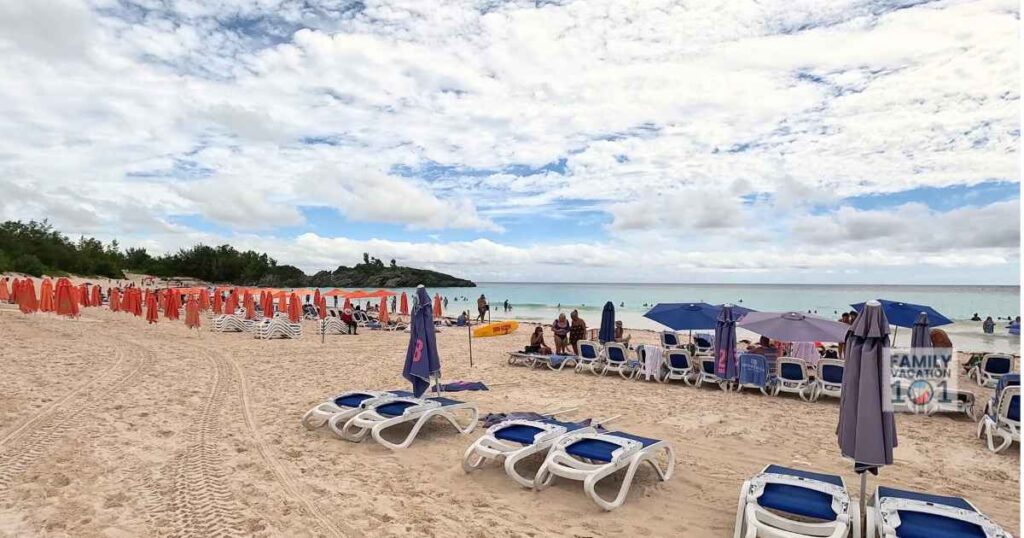
Horseshoe Bay is famous for its beautiful pink sand, but I appreciated how clean and organized the beach felt.
There was a restaurant and clean bathrooms with showers and changing rooms.
There was even a foot washing station outside the bathrooms, which was useful before leaving. We also saw lifeguards during our visit.
Having clean facilities made it comfortable to visit the beach.
I suggest you bring a change of clothes so you don’t have to spend the rest of your day in wet swimwear.
Pack your beach towel, sunscreen, and other essentials before leaving the ship so you’re ready for the whole day.
5. Get Your Chair and Umbrella Rentals Before Choosing Your Spot
This is the thing I would do differently next time.
When we visited, beach chairs cost $20 each, and umbrellas cost another $20 each.
The rental attendant was near the entrance by the restaurant. If you think you’ll want a chair or umbrella, pay for it before walking farther onto the beach.
We didn’t do that which was a mistake. We later decided some chairs or shade might be nice.
But getting the rentals meant walking back to the entrance. Nobody wanted to make the trek, so we ended up using our beach towels instead.
It was fine when we were there since it was a overcast day.
You can enjoy the beach without renting equipment, which is what we ended up doing.
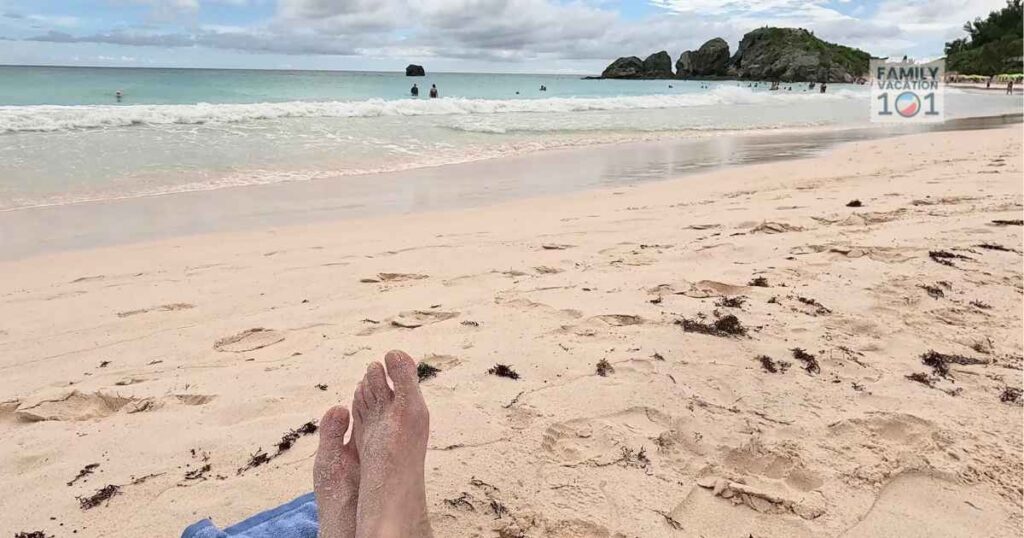
If you do decide to rent, make sure you add that to your budget. Three chairs and one umbrella at those prices would cost $80, before transportation or food.
6. You Can Visit Horseshoe Bay and Hamilton in One Day
You don’t necessarily have to choose between a beach day and exploring Hamilton if your port schedule gives you enough time for both.
Since our cruise ship was docked overnight, we had time to do both.
After Horseshoe Bay, we took a taxi to Hamilton. There were taxis waiting near the beach entrance when we were ready to leave, so finding one was easy for us.
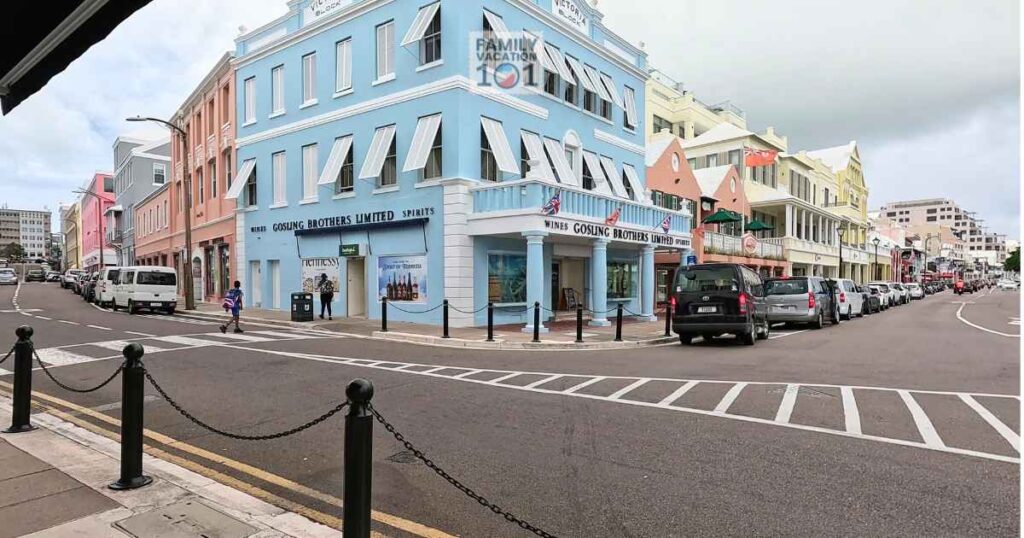
I liked this combination because we experienced two different parts of Bermuda without returning to the ship in between.
We enjoyed the beach first, then walked around Hamilton and shopped.
I like Hamilton. Compared to other Caribbean cruise ports, it’s much cleaner and organized.
7. Take the Ferry from Hamilton Back to Dockyard
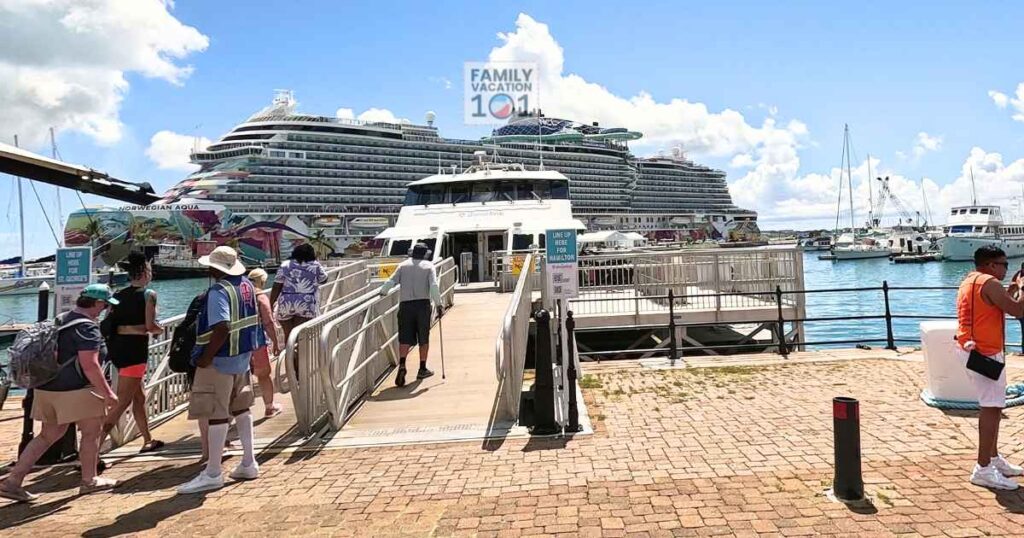
After exploring Hamilton, we took the ferry back to Royal Naval Dockyard.
I really enjoyed this part of our day. Our ferry was very clean, with indoor and outdoor seating. You could enjoy the waterfront views outside or relax in an indoor seat after the beach and walking around town.
On our visit, the ferry ride was $5 per person one way, and the departures we were 30 minutes apart. But do check the schedule.
The Hamilton ferry terminal is at the western end of Front Street, close to the shopping area. That made it convenient to browse the shops and then walk over to catch the ferry.
Make sure you give yourself plenty of time to walk to the ferry terminal and to ride the ferry back. I wouldn’t rely on the last possible ferry.
8. Check for a Complimentary Ferry to St. George’s
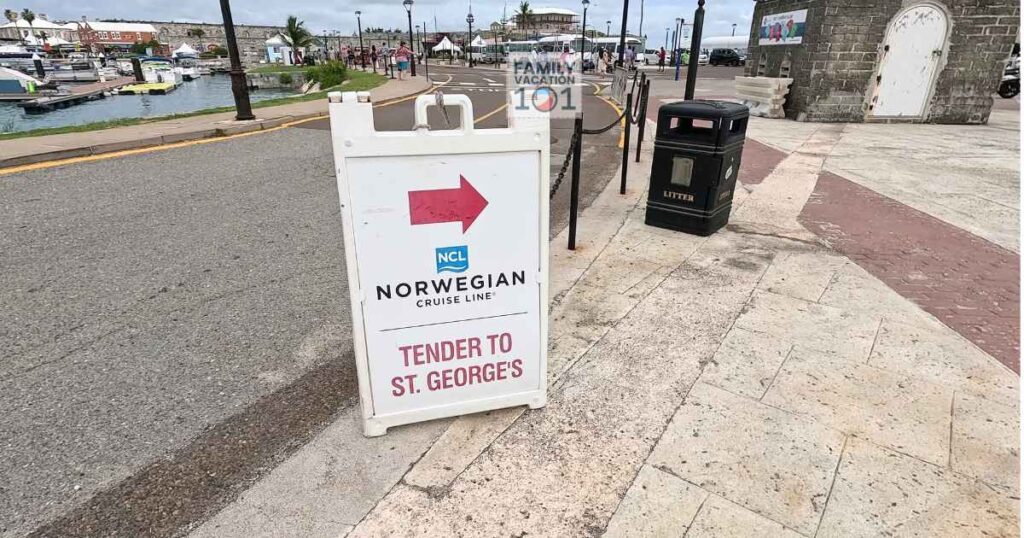
Hamilton isn’t the only place you can take a ferry to from Dockyard.
On our Norwegian Aqua cruise, Norwegian was offering a complimentary ferry service to St. George’s.
We didn’t have time to take advantage of it on this trip, but I’m planning to visit St. George’s on my next Bermuda cruise.
9. Leave Time for Souvenir Shopping Near the Ship

You don’t have to go all the way to Hamilton to shop for souvenirs.
Royal Naval Dockyard has plenty of shops close to the cruise ships, including Clocktower Mall, an indoor shopping area with souvenirs, gifts, and local crafts.
If you want a small gift to bring home, you can buy them right at the Royal Naval Dockyard.
There is a little train taking people to the shops, but the shopping area is an easy walk from the ship. My parents and I were able to walk to the Clocktower Mall.
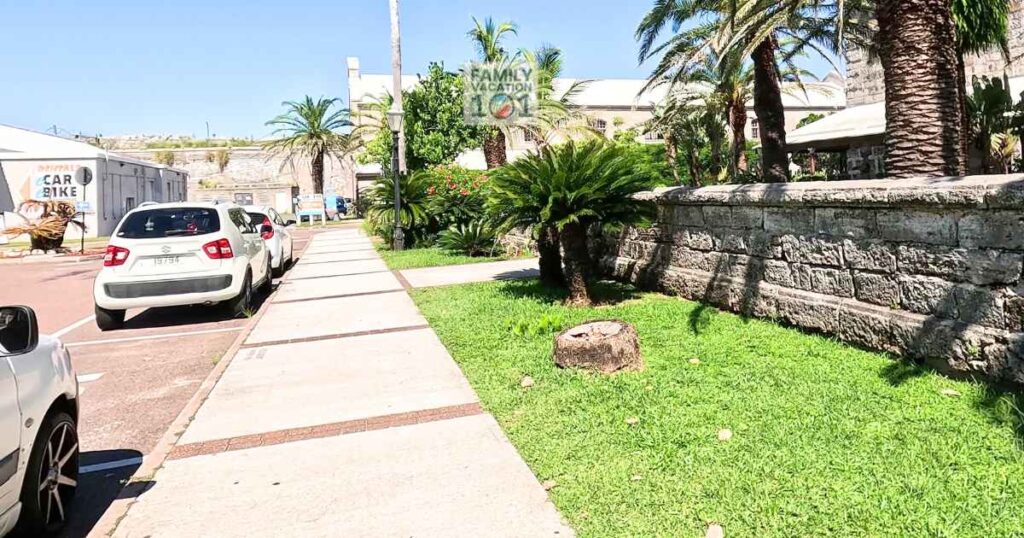
If your ship is docked overnight, I suggest doing the Clocktower Mall shopping on the second day.
Do your main sightseeing and beach day on the first day so you’re not rushed.
For more department store shopping, head to Hamilton. There’s even a Marks & Spencer if you enjoy browsing British stores.
But honestly, it’s not necessary to go to Hamilton to shop. There are many stores at the Clocktower Mall.
10. Bring Small U.S. Bills
Before leaving for your Bermuda cruise, bring some cash in smaller U.S. bills.
We used U.S. dollars throughout our visit, and everyone we paid accepted them. Bermuda’s dollar trades at the same value as the U.S. dollar, and the two currencies are accepted interchangeably.
Smaller bills are useful for taxis and beach shuttles. You don’t want to be ready to leave and find that the driver can’t break a large bill.
Aside from transportation, you’ll need cash for beach rentals and food at the beach.
Everyone we spoke with spoke English, so asking about fares, getting directions, and figuring out transportation was easy.
Cruise Essentials to Buy Before Your Cruise
Family Vacation 101 participates in affiliate programs including the Amazon Associates Program and may earn from qualifying purchases at no extra cost to you.
Travel Must-Haves
Passport neck wallet – Keeps your passport and travel documents secure and accessible. It also has RFID protection.
Cruise lanyards – A super convenient way to keep your cruise card within easy reach. No more digging through your bag every time you need it! I recommend getting one lanyard per person in your group and choosing different colors so it’s easy to tell them apart.
Anti-theft crossbody bag with anti-pickpocket clip – Genius anti-theft clip and versatile enough for both port days and evenings in the dining room.
Anti-theft crossbody bag with RFID – Padded shoulder straps with RFID lining to safeguard against identity theft.
Insulated water bottles –I don’t like spending money on bottled water, and I always want fresh water in my cabin. I’ll fill my bottle at the buffet or ask my server at dinner, then bring it back so I have water at night. This is my go-to water bottle—I prefer ones without straws since they’re much easier to wash in the cabin sink.
Pashmina – This multi-purpose wrap always earns its spot in my luggage. Use it as an evening wrap, a lightweight plane blanket, or a cover-up when visiting places of worship that require modest dress. I never cruise without one—you’ll be surprised how often it comes in handy.
Cruise Planning Essentials
Day Passes to Resorts– Booking private beach resort access in advance guarantees a comfortable beach experience at the cruise port.
Travel Insurance with CFAR Coverage– CFAR travel insurance gives you flexibility to cancel your cruise for any reason and recover part of your costs if plans change.
Last Minute Cruise Deals– Search for last minute cruise deals.
Cabin Comfort & Organization
Non-surge Cruise power strip– Cabins never have enough outlets (check cruise line rules first).
Magnetic hooks – Super-strong magnetic hooks that attach easily to your cabin walls. They’re perfect for hanging hats, cruise lanyards, goggles, swimsuits, and towels. I personally use the 85+ lb hooks—they’re incredibly sturdy and can even hold backpacks!
Small portable fan – Improves airflow and keeps Inside Cabins from feeling stuffy.
Motion sensor night light – Perfect for Inside Cabins, for when you get up at night to use the bathroom. It also has a magnetic base, so you can easily attach it to your cabin walls.
Toiletries & Laundry
Hanging toiletry bag – Keeps your essentials neat and accessible.
Fabric freshener spray – Fights wrinkles and refreshes clothes between wears.
Travel-size detergent – Handy for washing swimsuits, underwear, and quick-dry clothing in the sink.
TSA-approved travel containers – Easy to pack your lotions, creams, and other liquids without worrying about TSA rules.
Health & Wellness
Anti-seasickness medicine – My go-to meds for anti-seasickness. I take one in the morning on sea days (bring chewables for kids).
Acupressure bands – A natural alternative for seasickness relief. I use this with the anti-seasickness meds.
Packing & Storage
Cruise travel planners– Check out my travel planners, they help you stay organized before and during your trip.
Packing cubes – I never travel without packing cubes! They make packing and unpacking so easy—you can simply slip the entire cube into the cabin closet or drawer. I like to assign a different color to each person so there’s no mix-up.
Foldable duffel bag – I always pack a foldable duffel bag in case I bring home too many souvenirs or do some extra shopping. It doubles as an extra carry-on and barely takes up any luggage space.
Foldable shopping bag – Perfect for shopping at cruise ports, these bags fold up small enough to keep in your purse. I always carry one with me—you never know when you’ll need it! Plus, many countries charge a fee for shopping bags, and I’d much rather use my own than pay extra.
Foldable backpack – Perfect for cruise port days when you need an extra bag. I love that these backpacks are lightweight and fold down small, so you can toss one in your luggage without taking up much space.
Travel luggage scale – I always keep one in my suitcase so I can weigh my bags before heading to the airport. It’s a simple way to avoid overweight baggage fees.
Apple AirTags – I pop one into each of my bags so I can track my luggage for peace of mind. They’re especially helpful if you have a short layover and worry about your suitcase getting left behind.
Beach Essentials
Towel Clips – A simple must-have for pool and beach days! They keep your towels from slipping off lounge chairs, and I never cruise without brining a few in my luggage.
Waterproof phone pouch – Protect your phone from water and sand while still being able to snap photos. I always bring one when cruising the Caribbean or Mediterranean—it’s a lifesaver for beach and pool days.
Striped beach bag with zipper – You’ll need a beach bag with zipper to keep your things secure. I like this one because it’s stylish, has a water bottle holder, keeps belongings secure and has a lot of pockets.
Kid-Friendly Cruise Essentials
Magnetic toys – Cabin walls are magnetic, making these toys perfect for fun, mess-free entertainment. They keep kids busy when you’re in the cabin, especially since cruise TV options for kids can be limited. It’s always best to bring your own toys.
Collapsible beach buckets and toys – You’ll definitely want to bring beach toys if you’re going on a Caribbean cruise! This collapsible set includes foldable buckets, shovels, and sandcastle molds, all packed neatly in one bag. They’re easy to fit in your suitcase without taking up much space.
MSC Cruises Europe vs. USA: Similarities and Differences
Did you know that taking an MSC cruise in Europe feels different from taking an…
8 Unspoken MSC Cruise Rules Every Passenger Should Know
Are you going on your first MSC cruise? Before you pack your bags, there are…
9 Cruise Mistakes I Don’t Make Anymore After 25+ Cruises
When I first started cruising, I thought choosing the cheapest fare and figuring everything else…
18 Ways to Save Money on MSC Cruises (Cruise Tips that Work)
With inflation making everything more expensive, I am always looking for ways to save money….
15 Cruise Cabin Organization Tips for Families With Kids
I love cruising, but sharing a small cabin with kids can get crowded fast. Between…
Norwegian Cruise vs. MSC Cruise: 10 Differences to Know
Norwegian Cruise Line or MSC Cruises? I’ve sailed on both, and some of the differences…